Introduction
jar’s jail system can be customized to your liking, allowing custom DMs and messages for the bad actor.Setting up a jail
To create a jail, you can start by running thejail setup command. This will create a jail role, a jail channel & a jail log channel.
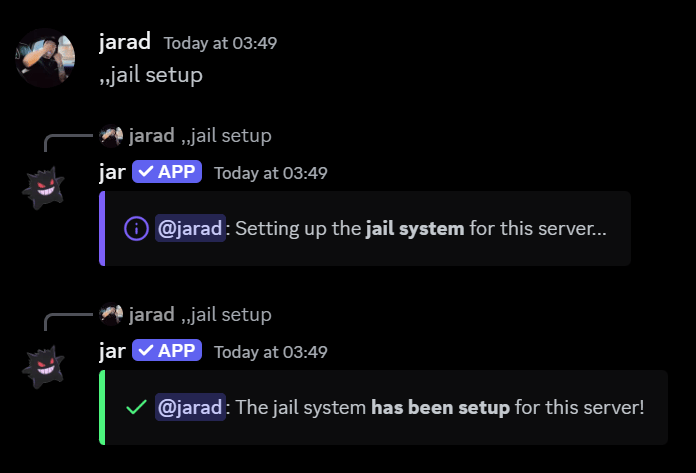
#jar-jail and #jail-logs.
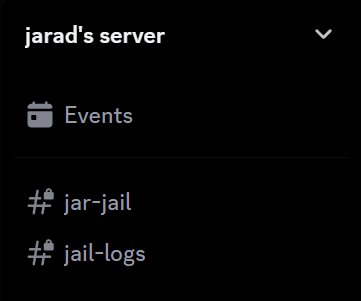
#jar-jailis what the bad actors will only see, restricting them from seeing any other channels.#jail-logsis where the actions taken against the bad actor will be logged.
Customizing the jail
You can change the following settings for the jail.Jail channel
Jail channel
The channel where the jail message will be sent, along with what the bad actor will see.
Jail DM message
Jail DM message
The message that the bad actor will receive when they are jailed.
Leave the message blank to make jar send its default message.
Jail log channel
Jail log channel
The channel where the jail actions are recorded.
Jail message
Jail message
The message that will be sent in the jail channel.
Leave the message blank to make jar send its default message.
Jail role strip behaviour
Jail role strip behaviour
The action you want jar to take when dealing with roles. If set to
On, jar will remove all roles from the bad actor when they are jailed.Resetting the jail
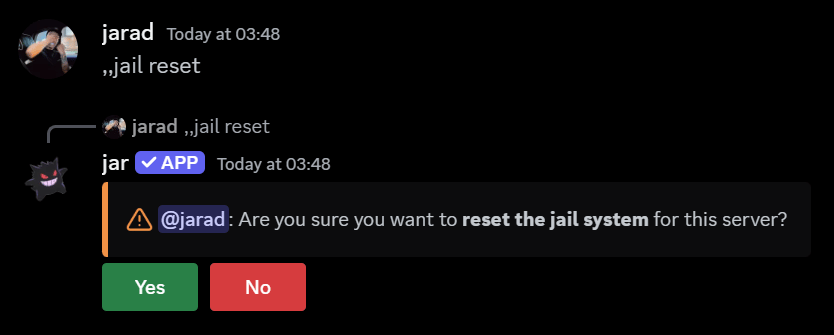
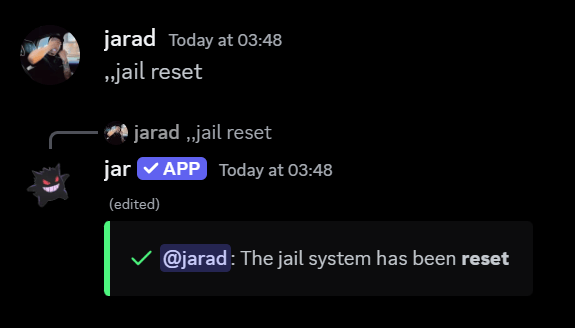
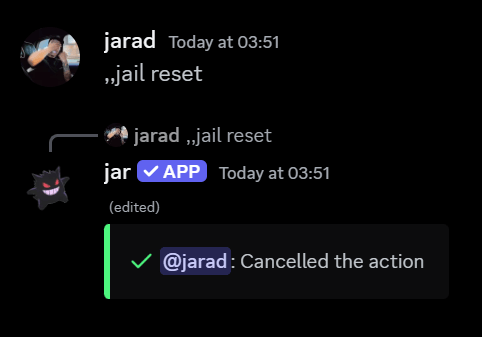
To reset the jail, you can run thejail reset command.
jar will ask you to confirm the reset, followed by a confirmation message.